How to use a fish finder for bass fishing
Let's be honest, nothing's more frustrating than investing good money in a fish finder, getting out on a beautiful Texas lake, and feeling like all it's telling you is how deep the water is – if you're lucky! You stare at that screen, seeing blobs and lines, wondering if you're looking at a monster bass or just a tumbleweed rolling across the bottom. This guide is here to cut through the confusion and show you how to truly unlock the power of your fish finder to locate those elusive Texas bass.
Demystifying Your Fish Finder: Beyond the Blips and Blobs
For many anglers, a fish finder feels like a magical black box. You turn it on, and poof, there's a screen with colors. But understanding what those colors and shapes actually represent is the first crucial step to using it effectively for bass fishing. It's not just about seeing fish; it's about seeing structure, cover, and how bass relate to them.
The Basic Principles: How Sonar Works
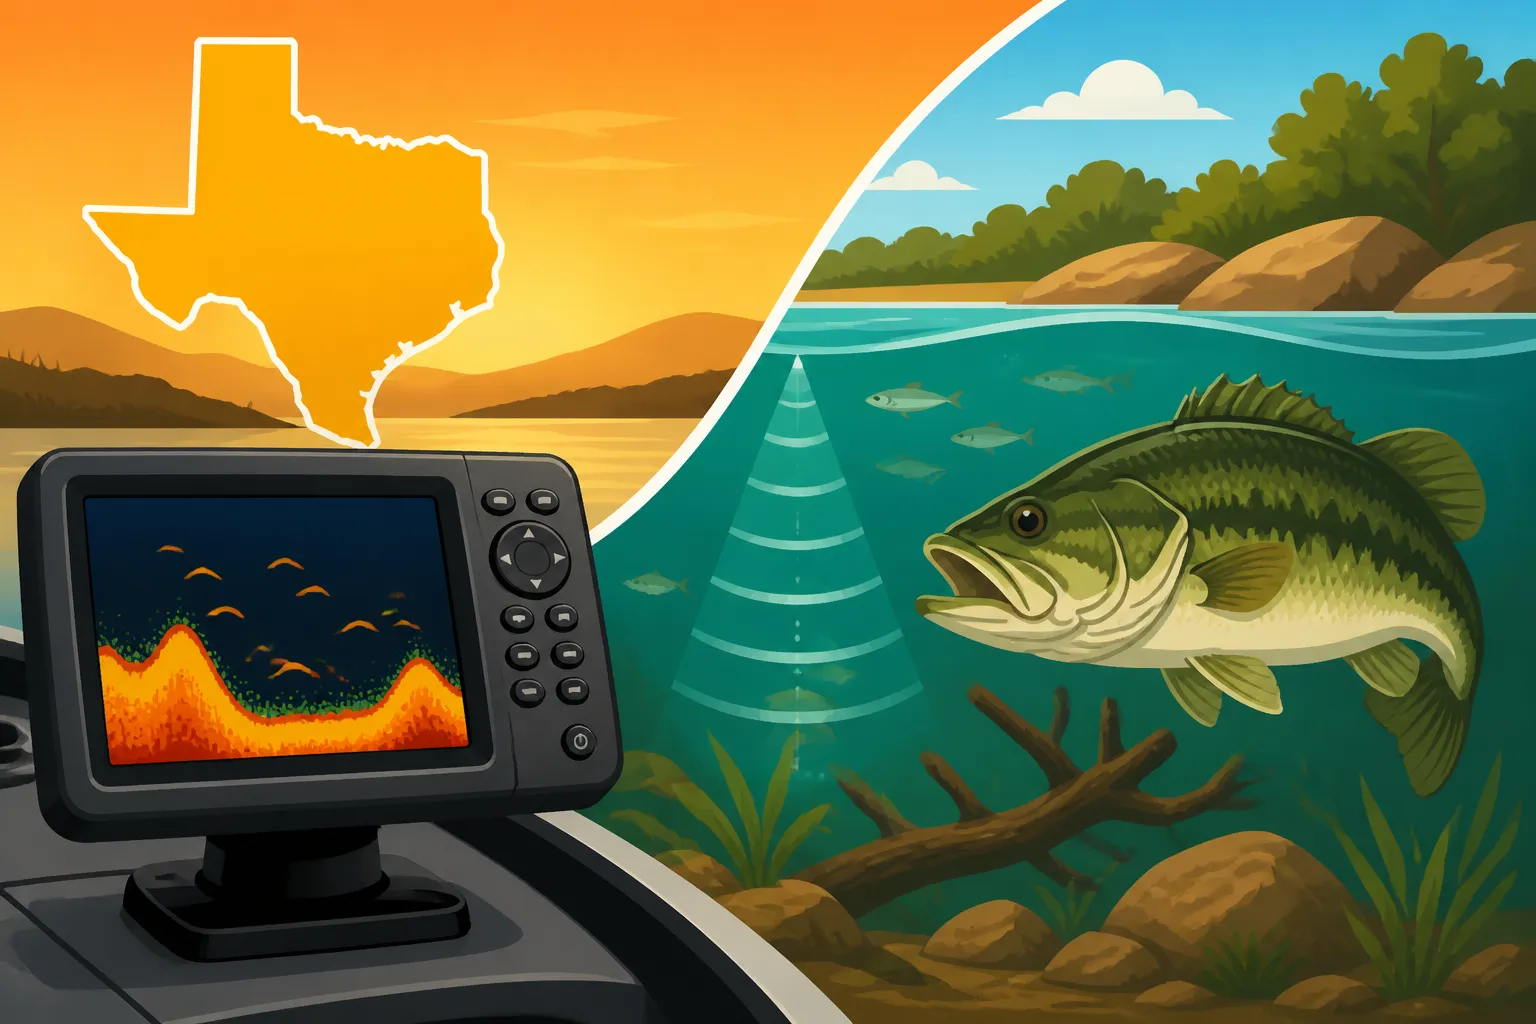
At its heart, a fish finder uses sonar technology, which stands for SOund NAvigation and Ranging. Think of it like a bat's echolocation. A transducer, usually mounted on your boat's transom or trolling motor, sends out sound waves (pings) into the water. When these sound waves hit something – like the bottom, a submerged tree, a school of baitfish, or a chunky largemouth – they bounce back to the transducer. Your fish finder then measures the time it takes for those sound waves to return and their strength, translating that data into the images you see on your screen.
The display essentially paints a picture of what's beneath your boat. The stronger the return signal, the brighter or more intense the color on your screen, indicating a harder object. Weaker signals, like those from a soft muddy bottom or loose grass, will show up with less intensity. Understanding this basic principle is like learning the alphabet before you can read a book; it's fundamental to interpreting the screen effectively. Without this knowledge, you're just guessing, and guesswork doesn't catch trophy bass in Texas.
Different Views for Different Needs: 2D Sonar, Down Imaging, and Side Imaging
Modern fish finders offer a variety of sonar views, each designed to give you a unique perspective of the underwater world. It's not about one being "better" than the other, but knowing when and how to use each view to piece together the full picture of where bass might be hiding.
-
2D Sonar (Traditional Sonar): This is the classic view most anglers are familiar with. It shows you a cone-shaped coverage area directly beneath your boat, depicting returns as arches (fish), lines (structure), or changes in bottom composition. The "arch" that indicates a fish is formed because the fish enters and exits the cone as your boat moves, creating a curved signal return. A thicker, more pronounced arch usually means a larger fish or one that spent more time in the sonar beam. It's fantastic for quickly identifying fish, but it can struggle to differentiate between a fish and a branch in dense cover. This is often the default view and the one you'll spend a lot of time watching as you're moving around a lake like Lake Fork.
-
Down Imaging (or DownVu/StructureScan): This technology uses a very thin, high-frequency beam to create a photographic-like image directly beneath your boat. Instead of arches, fish appear as bright dots or blobs, and submerged structures like trees, brush piles, or rock formations are rendered with incredible detail, almost like an underwater photograph. This view excels at identifying what you're seeing – is that a tree, a pile of rocks, or a submerged foundation? It takes the guesswork out of interpreting those ambiguous 2D sonar returns and helps you identify specific cover that bass love.
-
Side Imaging (or SideVu/StructureScan): Now, this is where things get really exciting, especially for covering large areas quickly. Side imaging sends sonar beams out to the sides of your boat, covering a wide swath of water (sometimes up to several hundred feet on each side). It paints a picture of the bottom, showing submerged structure, brush piles, ledges, and even individual fish lying on the bottom, far from your boat's path. This is an invaluable tool for scouting new areas, like potential bass fishing hot spots on Sam Rayburn Reservoir, quickly locating hidden creek channels or expansive brush fields that you would otherwise motor right over. It effectively creates an "underwater map" as you move, allowing you to mark waypoints on productive spots to return to later.
Knowing when to switch between these views, or how to use them simultaneously on a split screen, is key. Many seasoned anglers will use side imaging to scan wide areas, down imaging to confirm specific targets directly below, and 2D sonar to pinpoint fish arches in schools.
| Sonar Type | Best Use Cases for Bass Fishing | Visual Output | Pros | Cons |
|---|---|---|---|---|
| 2D Sonar | Finding fish arches, tracking bait schools, general depth finding. | Arches (fish), lines (structure), varying bottom intensity. | Good for quick fish detection, deep water penetration. | Can be hard to differentiate fish from cover in dense areas. |
| Down Imaging | Identifying specific submerged structure (trees, brush, rocks), confirming targets. | Photographic-like images of what's directly below. | Excellent detail and clarity, easy to interpret structure. | Only shows what's directly under the boat. |
| Side Imaging | Scouting large areas, locating offshore structure and cover, finding schooling fish. | Wide, photographic view of areas to the sides of the boat. | Covers vast areas quickly, reveals hidden features. | Less detail directly below, takes practice to interpret. |
Setting Up Your Fish Finder for Optimal Bass Detection
Having a high-tech fish finder is one thing; setting it up correctly is another. Many anglers just plug and play, missing out on crucial adjustments that can make a world of difference in seeing bass clearly, especially in the diverse waters across Texas.
Proper Transducer Placement and Mounting
This is often overlooked but is absolutely critical. Your transducer is the "eye" of your fish finder, and if it's not looking right, you won't see anything clearly. For most bass boats, a transom mount or a trolling motor mount are common.
-
Transom Mount: If mounting on the transom, ensure it's in clean, undisturbed water, away from propellers, strakes, or anything that creates turbulence. The face of the transducer needs to be parallel to the bottom of the boat, and just slightly below the hull. If it's too deep, it can create excessive spray and drag; too shallow, and you'll lose signal at speed. Experimenting with small adjustments might be necessary to find that sweet spot where you get a clear, consistent reading at both idle and on plane. Nothing is more aggravating than your fish finder blacking out when you're flying across Lake Ray Roberts!
-
Trolling Motor Mount: For many bass anglers, mounting the transducer on the trolling motor offers a huge advantage. It ensures the transducer is always in the water, even when shallow, and allows you to point it exactly where you're looking, which is especially beneficial with side imaging or when trying to pinpoint bass around specific cover. This can be a game-changer when you're trying to fish around boat docks for bass or other tight spots. Just make sure the cables are properly routed and secured to prevent damage. You can find robust mounting kits and cable management solutions on online retailers like Amazon to protect your investment.
Key Settings for Optimal Bass Detection
The factory default settings are rarely ideal for all conditions. Adjusting your fish finder's settings is like fine-tuning a guitar; it allows you to get the best performance.
-
Sensitivity (Gain): This controls how much detail your unit picks up. Too low, and you'll miss faint returns like baitfish or bass nestled in sparse cover. Too high, and your screen will be cluttered with noise and interference, making it impossible to distinguish actual targets. A good starting point is to increase the sensitivity until you see a little bit of clutter, then back it off slightly. You'll need to adjust this throughout the day as water clarity, depth, and bottom composition change. For example, if you're fishing muddy water after heavy rain, you might need to increase sensitivity more than in clear water lakes in Texas.
-
Frequency: Most modern units offer dual frequencies (e.g., 83/200 kHz for 2D sonar).
- Lower frequencies (like 83 kHz) penetrate deeper and offer a wider cone angle, which is great for covering more area and seeing deeper fish, but with less detail.
- Higher frequencies (like 200 kHz) provide much finer detail and better target separation in shallower water, but with a narrower cone and less depth penetration. For bass, especially when targeting specific structure or differentiating fish from cover, a higher frequency often provides a clearer picture. Some specialized units use even higher frequencies for even more detail in down and side imaging.
-
Color Palette: While seemingly cosmetic, your choice of color palette can greatly impact how you interpret the screen. Some palettes offer higher contrast, making it easier to spot subtle changes or faint fish returns. Experiment with different options to find what's most comfortable and effective for your eyes in varying light conditions. A clear, high-contrast palette can make a huge difference when you're trying to identify Texas largemouth bass identification guide features on your screen.
-
Scroll Speed (Chart Speed): This determines how quickly the sonar history scrolls across your screen. A faster scroll speed provides a more detailed, stretched-out view of targets, which can be useful when moving slowly or trying to analyze individual fish. A slower scroll speed compresses the image, making it harder to distinguish individual targets but better for seeing overall trends in structure. Match your scroll speed to your boat speed; if you're moving fast, a faster scroll speed is often better to prevent targets from appearing too compressed.
These adjustments are not "set it and forget it." The best anglers are constantly tweaking their fish finder settings throughout the day, adapting to the changing conditions of the lake.
Advanced Techniques for Locating Texas Bass: Beyond the Arches
Once you've mastered the basics and fine-tuned your settings, it's time to elevate your game. A fish finder is more than just a "fish detector"; it's a window into the underwater world, revealing patterns and relationships that can dramatically increase your success rate.
Using GPS and Mapping for Structure Fishing
Most good fish finders come integrated with GPS and detailed lake mapping. This isn't just for navigation; it's a powerful bass-locating tool. Understanding how to read lake contour maps for bass fishing in conjunction with your sonar is paramount.
-
Identifying Key Structure: Bass are creatures of structure and cover. Use your mapping to identify points, humps, creek channels, ledges, and submerged roadbeds – all prime bass real estate. As you idle over these areas, cross-reference your map with your sonar views. Does that map contour line indicating a drop-off match the ledge you're seeing on your side imaging? Are there brush piles on that point that aren't on your map but show up perfectly on your down imaging? This correlation is crucial.
-
Creating Custom Maps and Waypoints: Don't just rely on pre-loaded maps. As you discover productive spots or unique pieces of cover, mark them as waypoints. Many units allow you to create custom mapping (like a detailed mosaic of the bottom) using your sonar data as you idle around. This can reveal subtle changes in bottom composition or small patches of cover that no pre-loaded map will ever show you. Imagine discovering a small patch of hydrilla on O.H. Ivie Reservoir that holds giant bass, and you're the only one who knows it's there because your custom map shows it!
-
Following Contours: Bass often relate to specific depth contours. For example, in the summer, they might hold on a 15-foot deep ledge, especially during the How to catch bass in the heat of a Texas summer. Use your GPS and map to precisely follow these contours, keeping your boat and your bait in the strike zone. This is much more effective than just randomly drifting.
Reading Your Fish Finder in Different Conditions
The water conditions in Texas can change dramatically, from crystal clear Hill Country lakes to muddy East Texas reservoirs, and your fish finder will respond differently.
-
Water Clarity: In clear water, fish might be more spread out or suspended, and your sonar will pick up more detail. In muddy water, bass tend to hug tighter to cover or the bottom. You might need to increase sensitivity and focus more on structure than individual fish returns. When fishing clear water lakes in Texas, you might even spot fish visually, then confirm their presence with your fish finder.
-
Temperature and Thermoclines: In deeper lakes, especially during summer, a thermocline (a layer where water temperature changes rapidly) can form. This often appears as a distinct line on your 2D sonar screen. Bass and baitfish will frequently suspend above or within this thermocline, as it defines their comfort zone for temperature and oxygen levels. Identifying this layer can help you quickly narrow down the productive depth range. Knowing the best water temperature for bass fishing in Texas can give you a significant edge.
-
Wind and Waves: Choppy water can introduce noise and air bubbles into your transducer's signal, leading to a cluttered screen. Sometimes, a slight adjustment to your transducer's angle (if adjustable) or slowing your boat down can help. Focus on identifying solid, consistent returns and learn to filter out the sporadic noise.
-
Baitfish Presence: Pay close attention to schools of baitfish. Bass are predators, and where there's food, there are usually bass. Baitfish schools often appear as dense clouds or balls of tiny dots on your 2D or down imaging. If you see baitfish relating to a piece of structure, it's a strong indicator that bass are likely nearby. Learning how to read a Texas lake fishing report can also help you understand current baitfish patterns.
Mastering your fish finder is an ongoing journey. The more time you spend on the water, experimenting with settings and interpreting the screen, the more intuitive it will become. It's a powerful tool that, when used correctly, transforms your fishing from a game of chance to a strategic hunt for those incredible Texas bass. Don't be afraid to experiment, and remember that every time you use it, you're building a mental library of what bass and their environment look like beneath the surface.
Disclaimer
This article is for general informational purposes only and does not constitute professional advice. Laws, prices and regulations vary by location and change over time. Consult a qualified professional for guidance on your specific situation.