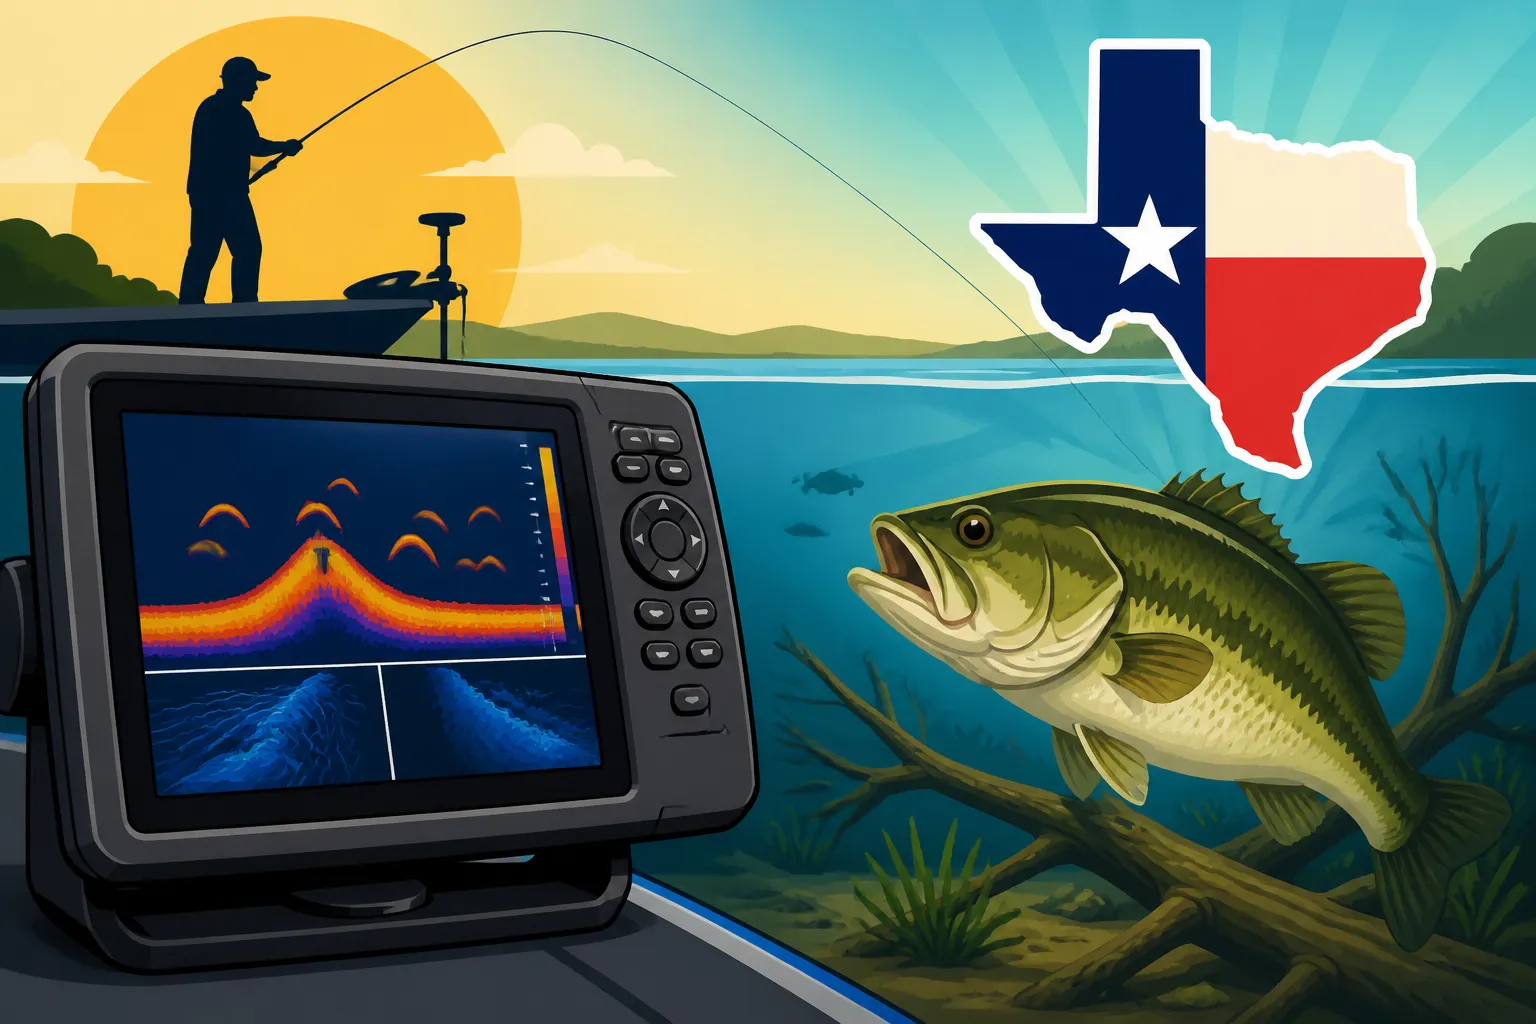
How to read a fish finder for bass
Staring at your fish finder screen can sometimes feel like trying to decipher an ancient hieroglyphic language, especially when all you want to do is find those elusive Texas bass. It's frustrating to invest in great electronics only to feel like you're just looking at squiggly lines and blobs. This guide is here to demystify your fish finder, breaking down what those signals mean and giving you actionable steps to use your unit to consistently locate and catch more largemouth, smallmouth, and Guadalupe bass across the diverse waters of Texas.
Demystifying Your Fish Finder Screen
Before you can interpret what your fish finder is showing you, it's crucial to understand the fundamental technology behind it. It's not magic; it's sound waves, and once you grasp how those waves translate into images on your screen, everything else starts to click into place. Think of your unit as a high-tech echo location device, constantly sending out pings and listening for their return.
The Core Principles of Sonar
At its heart, a fish finder uses sonar (SOund Navigation And Ranging) technology. Your transducer, typically mounted on your boat's transom or trolling motor, sends out sound waves into the water. When these sound waves hit an object – whether it's the bottom, a fish, a tree, or even a thermocline – they bounce back to the transducer. Your fish finder then measures the time it takes for the echo to return and the strength of that echo. This information is processed and painted onto your screen, giving you a visual representation of what's beneath your boat.
The frequency of these sound waves is important. Lower frequencies (like 50 kHz) penetrate deeper into the water and cover a wider area, but offer less detail. Higher frequencies (like 200 kHz or even Mega Imaging frequencies) provide much sharper detail and better target separation, though they don't penetrate as deep and cover a narrower cone. For bass fishing, especially in Texas lakes where you might be looking for subtle changes on the bottom or individual fish near cover, a higher frequency setting or a unit with advanced imaging capabilities will be your best friend. Modern units often allow you to run multiple frequencies simultaneously, giving you a comprehensive view.
Understanding Your Display Modes
Most modern fish finders come with a variety of display modes, and knowing when to use each can significantly improve your bass-finding efforts. Gone are the days of just a simple 2D sonar screen; now we have detailed imagery that almost looks like a photograph.
- 2D Sonar (Traditional Sonar): This is the classic view, showing you arches and lines. It's excellent for overall depth perception, identifying schooling baitfish, and marking larger fish arches. It's what most people think of when they hear "fish finder." You'll see the bottom contour, and anything between the bottom and the surface will be displayed as lines or arches, depending on the object's size and how long it stays in the cone.
- Down Imaging (DownScan/DownVision): This technology provides a picture-like view directly beneath your boat. Instead of arches, you'll see more realistic representations of structure like trees, brush piles, rock formations, and even individual fish. It's fantastic for identifying exactly what kind of cover bass might be holding in or near, like a submerged stump or a rock ledge. It offers incredible detail directly below you, making it easier to distinguish between a pile of rocks and a dense school of baitfish.
- Side Imaging (SideScan/SideVision): This is where things get really exciting for bass anglers. Side imaging sends sonar beams out to the sides of your boat, allowing you to scan vast areas quickly. You can see structure, cover, and fish out to the left and right, sometimes up to 100 feet or more on each side. This is invaluable for finding offshore humps, submerged roadbeds, or scattered timber that you might have otherwise missed. Imagine covering a football field-sized area with just one pass – that's the power of side imaging. You can see bass relating to the edges of creek channels or hiding in isolated brush piles far from your boat's direct path.
| Sonar Type | Best Use for Bass Fishing | Key Benefits |
|---|---|---|
| 2D Sonar | General depth, identifying schools of baitfish, large fish arches | Good for quick scans, understanding bottom composition |
| Down Imaging | Identifying specific submerged structure (stumps, rocks, brush), discerning fish in cover | Photo-like detail directly beneath boat, clarifies structure outlines |
| Side Imaging | Scouting large areas for structure, cover, and roaming fish, finding isolated targets | Covers vast areas quickly, reveals fish away from the boat |
When you're out on the water, especially on a new lake like Lake Fork or Sam Rayburn, toggling between these views can give you a complete picture. You might see a faint arch on 2D, switch to Down Imaging to confirm it's a piece of submerged timber, and then use Side Imaging to see if bass are holding on either side of it. Best Fishing Electronics for Texas Anglers can give you some great ideas on units that offer these advanced features.
Decoding the Signals: What Bass Look Like
Now that you understand how the fish finder works and the different views, let's get into the nitty-gritty: how to actually identify a bass on your screen. This is often the biggest hurdle for new anglers, and honestly, even seasoned pros can misinterpret signals from time to time.
Interpreting Fish Arches
On your traditional 2D sonar, fish often appear as arches. The reason for this arch shape is simply physics and your boat's movement. As your boat moves over a fish, the fish enters the sonar cone, stays in it for a period, and then exits. The fish finder records the fish at different points within that cone.
- Classic Arch: A strong, well-defined, continuous arch typically indicates a larger fish. The thicker the arch, the stronger the return signal, usually meaning a bigger fish or a fish with a larger swim bladder. Texas largemouth bass, particularly those big ones you dream of from O.H. Ivie Reservoir, will often show up as very distinct, bold arches.
- Partial Arches or Streaks: These can be smaller fish, fish moving quickly through the cone, or fish on the edge of the cone. Don't dismiss them entirely, as smaller bass or schooling white bass during their spring run might appear this way. You'll often see these when trying to pinpoint Texas White Bass Run Timing.
- Speed Matters: Your boat's speed affects the arch. Moving slowly will create longer, more drawn-out arches. Moving quickly will result in shorter, more compressed arches. If you're idling along, a fish might look like a long streak rather than a classic arch. Adjust your interpretation based on your boat speed.
When you see those beautiful arches, pay attention to where they are in the water column. Bass might be suspended, particularly in deeper, clear lakes like Canyon Lake, or they might be "bottom-hugging," relating tightly to structure or the lakebed. Suspended arches can indicate actively feeding fish, while bottom-hugging ones are often relating to a specific piece of cover.
Distinguishing Bass from Baitfish and Debris
This is where experience really comes into play, but there are some clear indicators that can help you differentiate bass from other things under your boat.
- Baitfish: Schools of baitfish, like shad, will typically appear as dense clouds or balls on your 2D sonar. They'll look like a cluster of small dots or a fuzzy mass, often hovering at a specific depth or around structure. On Down Imaging, they might look like a tightly packed, amorphous blob. Bass, on the other hand, are usually larger, more solitary marks, or a small group of distinct arches, often positioned around or just below these bait balls, waiting for an ambush opportunity. If you see a dense bait ball with a few larger, distinct arches on the edges or underneath, you're likely in a good bass zone.
- Debris and Thermoclines:
- Debris: Things like leaves, algae, or even tiny air bubbles can sometimes show up as fuzzy, indistinct signals, often near the surface or in the middle of the water column. They usually lack the distinct arch or solid shape of a fish.
- Thermoclines: In deeper lakes, especially during summer, a thermocline is a layer of water where the temperature changes rapidly. This temperature difference can reflect sonar waves, appearing as a hazy, horizontal line on your screen. While not fish, the thermocline is crucial because it often indicates the oxygen-rich zone where bass (and baitfish) prefer to hang out. If you see fish arches or bait balls just above or right in the thermocline, you know you're in a productive depth range. How to fish deep drop-offs for bass often relies on finding these invisible temperature barriers.
- Structure vs. Fish: Sometimes a small brush pile or a submerged tree limb can be mistaken for a fish on 2D sonar, especially if it's sparse. This is where Down Imaging and Side Imaging become invaluable. They will clearly render the object as wood or rock, making it easy to see if any distinct fish shapes are present within or around the structure, rather than mistaking the structure itself for a fish.
Remember, a fish finder is a tool to locate fish, not necessarily to identify the species with 100% certainty from every mark. Your best bet is to combine what you see on the screen with local knowledge, time of year, and your fishing instincts. For instance, if you're fishing Lake Texoma Fishing Guide specifically for striped bass, those large, strong arches in open water are highly likely to be stripers, especially if they're relating to baitfish schools.
Locating Bass Structure and Cover
Bass are intimately tied to structure and cover. They use it for ambush points, shade, protection, and to follow contours for feeding. Your fish finder is your eyes beneath the water, revealing these crucial elements that hold fish.
Spotting Submerged Timber and Brush Piles
Texas lakes, especially in East Texas like Sam Rayburn Reservoir and Toledo Bend Reservoir, are famous for their vast amounts of submerged timber, ranging from standing trees to massive brush piles. These are prime bass habitats, and your fish finder can reveal them in incredible detail.
- 2D Sonar: Standing timber will often show up as vertical lines or spires rising from the bottom. Brush piles will appear as a dense, irregular mass on the bottom. Look for fish arches tightly associated with these structures, sometimes suspended directly in the branches or right on the edges.
- Down Imaging: This view excels at showing the intricate details of wood. You'll see individual tree limbs, stumps, and the distinct shapes of brush piles. Bass often appear as bright, distinct shapes within the dark, textured image of the wood. It's like having an X-ray vision for the cover.
- Side Imaging: For finding large fields of standing timber or scattered brush piles across a wide area, Side Imaging is unbeatable. You can literally "see" an entire submerged forest or a series of isolated brush piles off to your sides as you idle along. This allows you to pinpoint the most promising targets and approach them strategically, rather than driving directly over them and potentially spooking fish. Once you spot a promising patch of cover with Side Imaging, you can then switch to Down Imaging to get a closer look and target individual fish. This is particularly useful when exploring new waters or looking for new spots on a familiar lake.
Identifying Ledges, Humps, and Roadbeds
Offshore structure is a goldmine for bass, especially during hotter months when bass retreat to deeper, cooler water. These subtle topographical features are often overlooked by anglers who stick to the banks, but a fish finder will expose them.
- Ledges and Drop-offs: On 2D sonar, a ledge will show a distinct change in the bottom line, dropping from a shallower depth to a deeper one. Your screen will physically show the bottom dropping. Bass will often hold right on the edge of these ledges, using the depth change as a corridor or an ambush point. Look for arches suspended just off the face of the ledge or right on top.
- Humps and Ridges: These are elevated areas on the lake bottom. On 2D, you'll see the bottom line rise and then fall again. Side Imaging is fantastic for spotting humps and ridges that might be subtle on 2D, revealing their shape and size across a larger area. Bass will often position themselves on the top or along the sides of these features, especially if there's any additional cover like rocks or brush on them.
- Submerged Roadbeds: Old roadbeds that were flooded when a reservoir was created are prime bass magnets. They provide a harder bottom, sometimes with old culverts or bridges, creating distinct pathways. On Side Imaging, a submerged roadbed often appears as a long, straight line or slightly elevated band running across the bottom. The old concrete or asphalt usually reflects sonar differently than the softer lake bottom, making it stand out. Bass will congregate along these old routes, particularly where they intersect with creek channels or other cover. Learning How to read lake contour maps for bass fishing combined with your fish finder can help you predict where these submerged features might be.
Finding Hydrilla and Grass Beds
Aquatic vegetation, like hydrilla, coontail, and pondweed, provides incredible habitat for bass. It offers cover, oxygen, and holds baitfish. Knowing how to identify these submerged grass beds is key, especially in lakes known for their healthy vegetation, such as Toledo Bend or Lake Conroe.
- 2D Sonar: Healthy, dense grass beds will appear as a fuzzy, often spiky, bottom line that lifts significantly from the actual hard bottom. The height of the "fuzz" indicates the height of the grass. Look for bass arches suspended just above or directly in the top of the grass, or on the edges where the grass meets open water.
- Down Imaging: This view provides a clearer image of the texture and density of the grass. You can often see individual stalks or clumps, and importantly, identify open holes or channels within the grass, which are classic bass ambush points. Bass will often show up as bright white dots or shapes within the darker mass of the grass.
- Side Imaging: For scouting vast flats or determining the outer edges of large grass beds, Side Imaging is incredibly efficient. You can see how far a grass line extends, find points or irregularities in the grass, and spot isolated clumps that might hold fish. This allows you to fish the productive edges and pockets more effectively without wasting time on barren areas.
Understanding these features is crucial. Many anglers overlook the deeper, more subtle structures, but those are precisely where the bigger, more consistent bass often reside, especially during challenging conditions.
Advanced Strategies for Texas Bass Anglers
Mastering your fish finder isn't just about reading the screen; it's about integrating that information into your overall fishing strategy. It’s about making educated guesses and then confirming them with what your electronics are showing you.
Side Imaging and Down Imaging for Precision
If you have a unit with Side and Down Imaging, you've got powerful tools at your disposal that can dramatically improve your bass fishing. Don't just stick to 2D!
- Scouting Missions: Use Side Imaging for quick scouting passes. Instead of blindly casting, idle over an area (like a creek channel bend, a large flat, or a section of timber) and look for abnormalities. Are there isolated brush piles? Is there a hard spot on the bottom? Are there fish relating to a specific depth contour? This saves immense time and helps you pinpoint high-percentage targets without disturbing the fish. Many anglers find great deals on these advanced units by checking reputable retailers like Bass Pro Shops or online platforms like Amazon.
- Pinpointing Casts: Once Side Imaging reveals a target off to your side—say, a single submerged stump with a fish lurking nearby—you can mark a waypoint on your GPS. Then, you can position your boat to make a perfect cast to that specific piece of cover, rather than just casting generally into an area. This precision is invaluable for tempting wary bass.
- Following Contours: Bass often use creek channels, ditches, and depth changes as highways. With Side Imaging, you can literally "see" these pathways and how fish are positioned along them. This helps you understand the bass's movement patterns and where they might be staging. When you're fishing a Texas-rigged worm or a crankbait, knowing the exact contour of the bottom from your fish finder can help you present your lure more effectively. How to fish a Texas rig for bass is much more effective when you know exactly what structure you're dragging it over.
Integrating Your Fish Finder with Your Fishing Strategy
A fish finder isn't just for finding fish; it's for understanding the underwater world and adapting your approach.
- Pattern Recognition: Pay attention to where you see fish and what they are relating to when you're catching them. If you're consistently catching bass on the top of submerged humps in 15 feet of water, your fish finder can help you quickly find other similar humps in that depth range. This helps you establish a pattern. Best time of year to fish Lake Fork for bass and How to catch bass when the water is cold often depend on finding these specific patterns using your electronics.
- Depth and Temperature: Most fish finders display depth and water temperature. These are critical pieces of information for bass. Knowing the depth of the thermocline (if one exists) and the water temperature at different depths can inform your lure choice and presentation. Bass are temperature-sensitive, and finding their preferred comfort zone is a huge advantage.
- Waypoint Management: When you find a productive piece of structure or a school of fish, mark a waypoint! This allows you to return to that exact spot again and again. Over time, you'll build up a personal map of hot spots on your favorite Texas lakes. Remember that fish move, but good structure often holds fish throughout the year, even if their exact position on that structure changes.
- Practice, Practice, Practice: The best way to learn your fish finder is to use it. Spend time idling over known spots, observing how different types of fish, structure, and bottom compositions appear on your screen. Don't be afraid to adjust settings like sensitivity, contrast, and color palettes. Every unit is slightly different, and personalizing your settings can make a big difference in what you see. Take your unit out, experiment, and slowly but surely, those "hieroglyphics" will transform into a crystal-clear picture of the Texas bass world beneath your boat.
Disclaimer
This article is for general informational purposes only and does not constitute professional advice. Laws, prices and regulations vary by location and change over time. Consult a qualified professional for guidance on your specific situation.